


The Hidden Techniques of Real Estate Photo Editing
Through the years, real estate photo editing techniques have evolved and introduced new concepts. There are the known conventional techniques and of course the new ones born out of the developments of newer software. Little do people know that in real estate photo retouching and editing techniques, there are certain hidden tips that exist that bring about a whole new vibrance to the image.Looking out for these hidden real estate photo editing techniques could help pique certain interests when done properly. Jumping straight to them without considering mastering the basics though might be detrimental to your real estate photo retouching. Before diving into these, make sure you’ve got the basics down and are comfortable moving towards uncharted territories.
What are these Secrets?
In as much as we’d like to call them secrets, they are techniques which most people do not usually use, making them highly uncommon to find. Revealing them will surely not be to anyone’s disadvantage but a good scratch on the surface to find out what’s in store in this realm will surely give some additional zip to your real estate photo editing techniques.
Exterior photos thrive on vibrance settings more than saturation
When trying to make a property’s exterior stand out in a sunny day, consider increasing the colder colors more than the warmer ones in order to make the sky pop out. This might sound counter intuitive to the real estate photo retouching we all know and love so well but think about it carefully. Vibrance deals with the color pixels that are muted and doesn’t touch the ones that are already heavy. In most photos, a sunny day would produce a yellowish tone and in the color cast scheme of things, you would not want to intensify this any further. So, what happens now? Increasing the vibrance to 2-3x the saturation will bring out the less noticeable aspects of the sky while leaving the already heavy yellowish tones as it is. This now creates a balance and perhaps the visibility of the entire exterior.
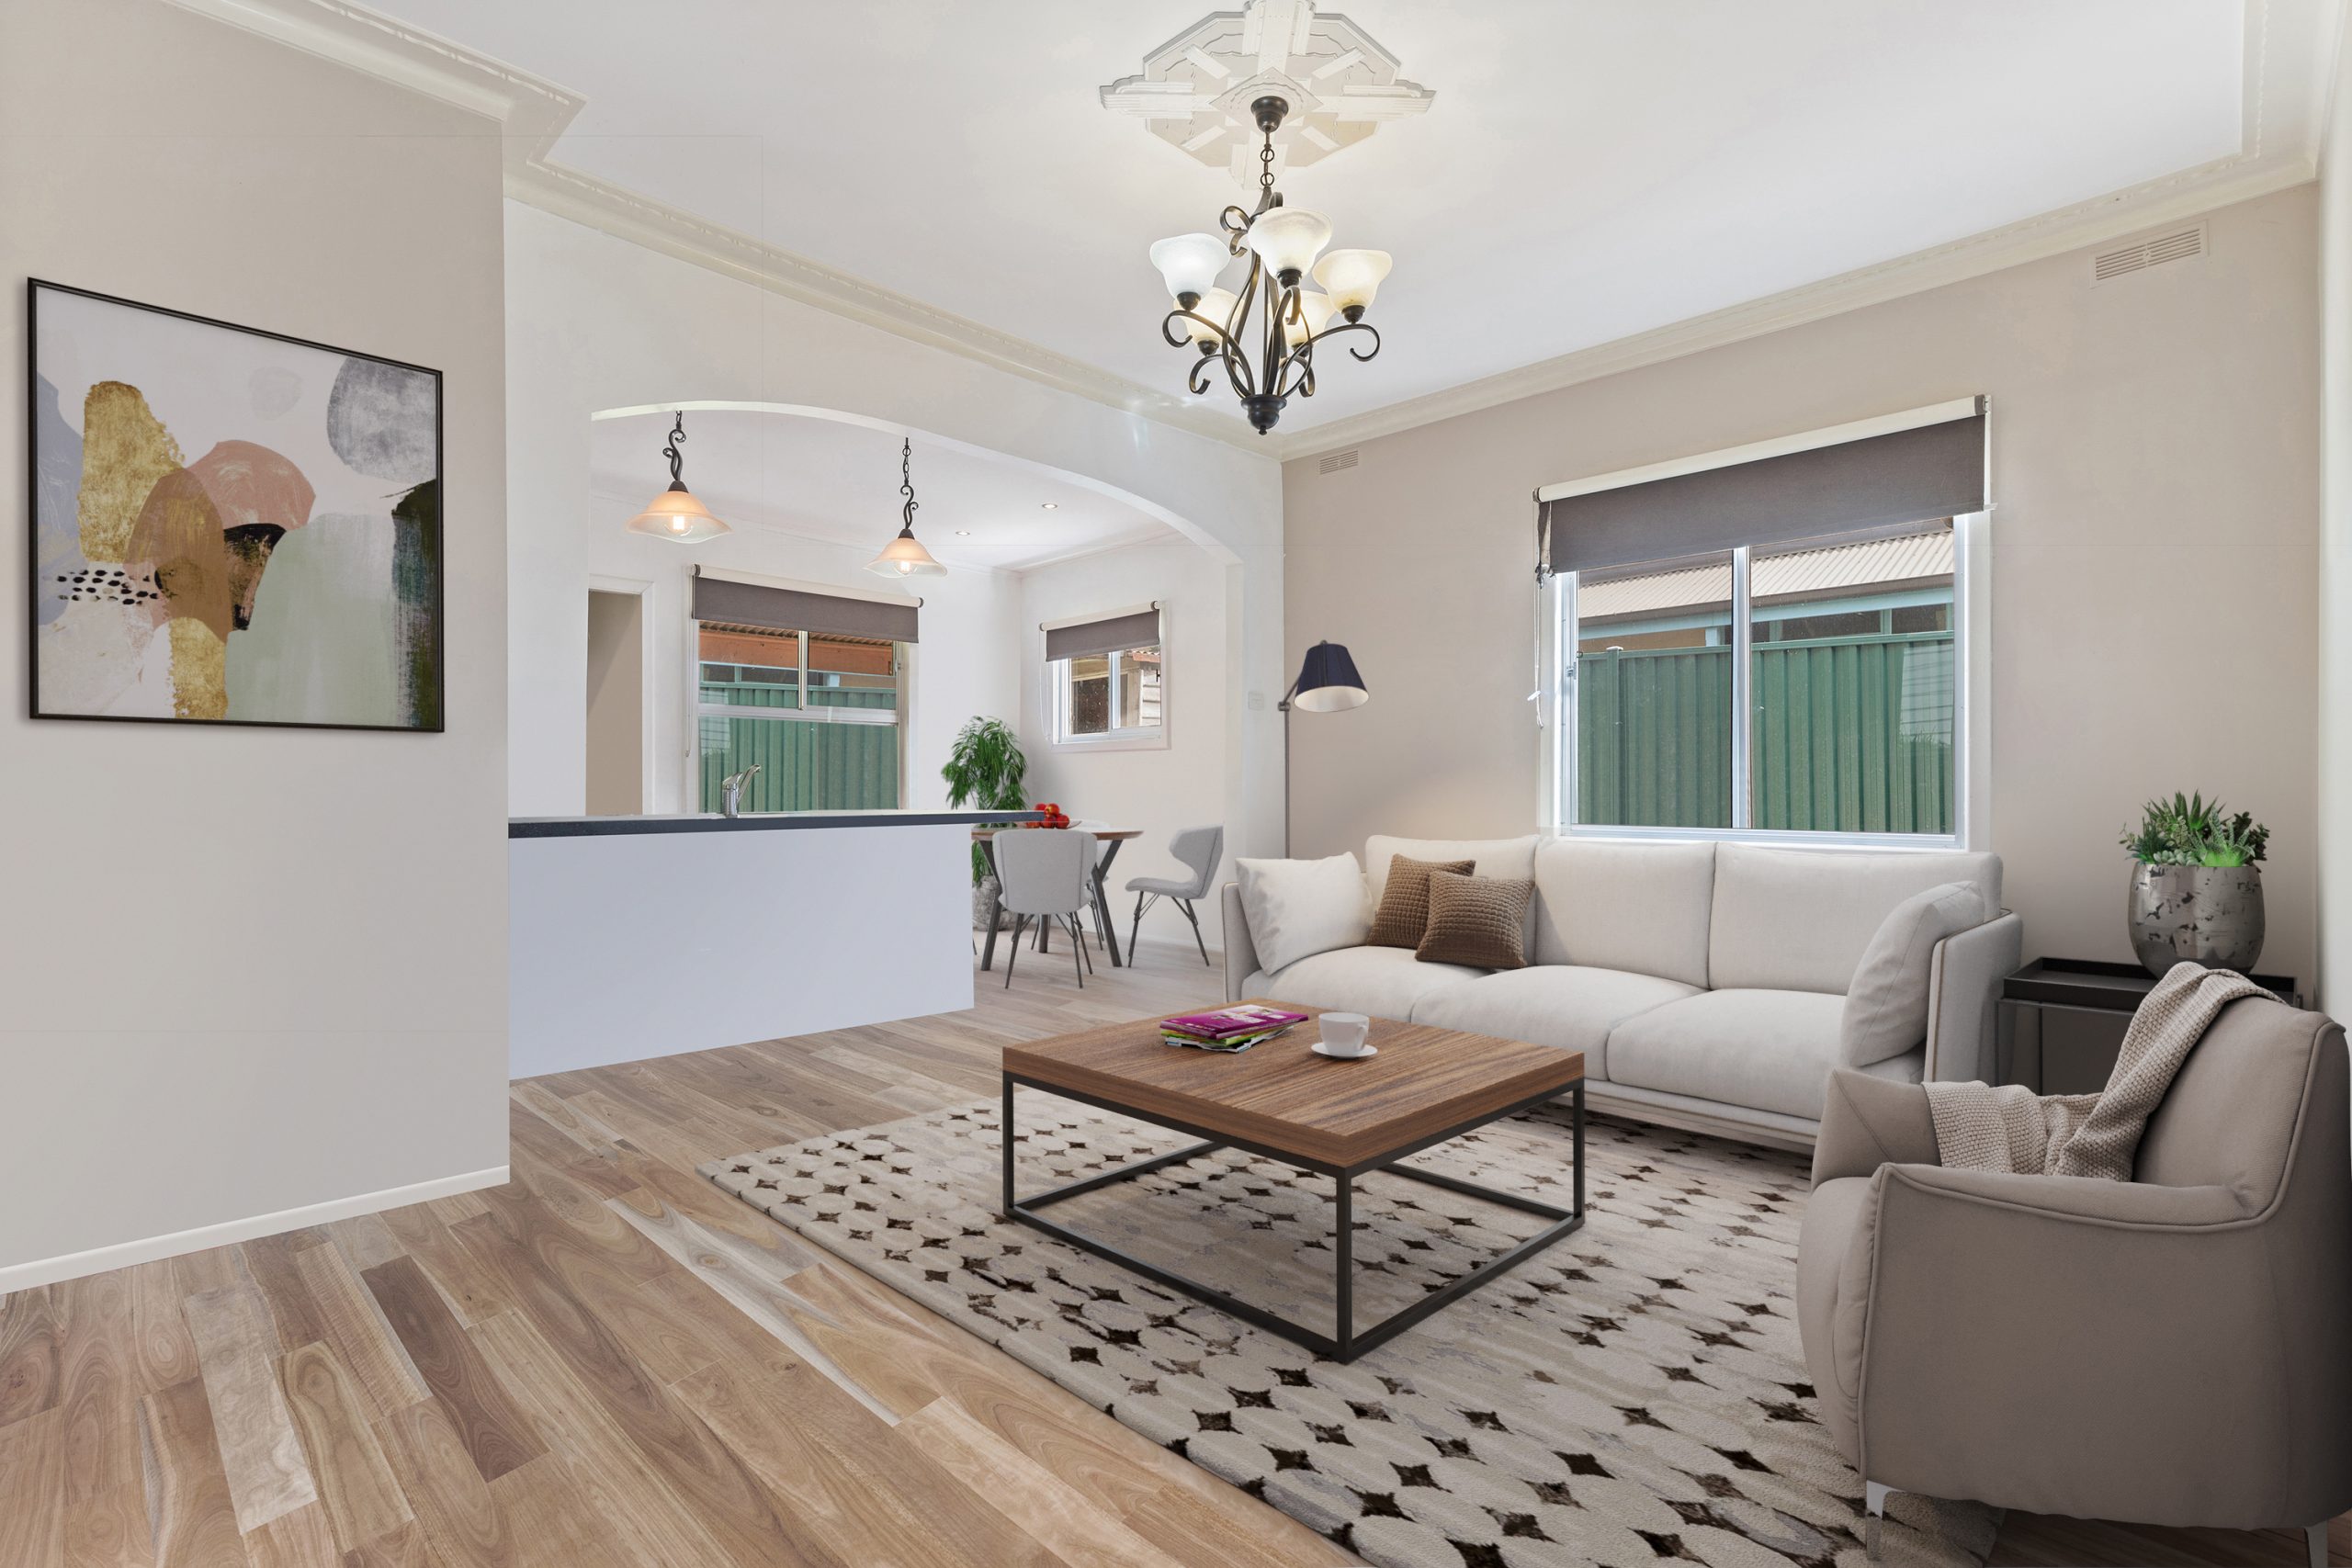
Photo manipulation is alright, for as long as you don’t deceive people
A lot of real estate photo editing techniques ply within the bounds of ethical norms in the industry and that is to keep the integral perception of the property both inside and outside. While it is not a huge secret, it is an unspoken rule that whatever power comes with real estate photo retouching, one must be responsible in making the changes without the intent to mislead. For instance, staging of furniture is considered photo manipulatinon. In the more common real estate photo editing techniques, staging is completely acceptable. However, when manipulation goes too far to change the flooring from wooden to marble or create gold fixtures with hopes to make it sell faster, then there is a problem there.
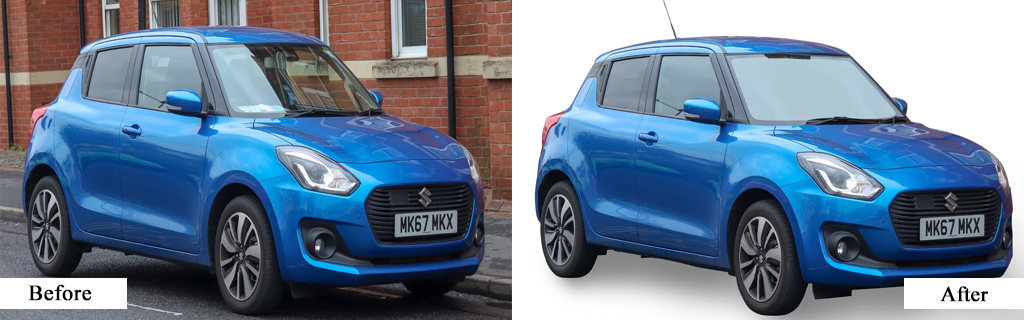
Have a copy of the raw image and put it side by side your work-in-progress
Yes, most editors tend to get sucked in and get themselves too engrossed in their work that they have forgotten what the original photo has looked like. Constantly checking how much difference has been made throughout the course of real estate photo retouching can help ground you back to the original intent and that is to enhance the image. Drifting too far away can create an unrealistic looking image that might look like it came from a fantasy book of sorts.
Shadows might be useful after all
One thing that most photographers would try and fix in a real estate image are shadows. There are of course the usual real estate photo editing techniques to get rid of some and change the position of the others, but have you ever thought of using shadows to the advantage of the entire image? Well then, in the Tone Curve Adjustment, a play on shadows to a negative value with an equivalent positive value on the dark tones can make the photo much richer. It will add contrasting shades that will not be as loud and in fact add more dramatic flair to the image.
Take note of the illumination levels when spreading out the light
Oftentimes it is our first instinct in conventional real estate photo editing techniques to brighten up the photo by increasing the overall image brightness. What we fail to realize is that there are pockets of light sources within the photo that shine brighter than other areas. Therefore, try and even out the light first within the image prior to making it bright (or darker in some cases). This should be complemented by changes in color temperature levels such as hue, saturation, and vibrance. A one-shot change cannot immediately produce the results we want so making sure that things are done in this manner can save you a lot of time in re-doing the things just to correct them.
Layers are your best friend
It is always in the best interest to be able to control the entire process of real estate photo retouching in the eyes of the one who is executing the task. Layers will give that control as they can considered as independent parts of the editing process. Imagine this. One technique or one process is done on a separate layer each. If there are adjustments that merit changes, you can easily go to that layer and make the necessary modifications because we understand that things can go wayward or too far off and undoing them might seem a bit of a hassle.
Conclusion
These hidden techniques aren’t so hidden anymore, aren’t they? Well, come to think of it, anything that is hidden is not meant to be unreachable. Instead, we should view them as those that exist, but just haven’t been discovered yet. It is important that we still keep the basics that we know but try and venture out to something different and try to challenge the comfort zones we reside in. By learning some of these secrets (which, by the way, are no longer that secret), we expand our skillset and enable ourselves to experiment with more adjustments. Who knows, one day you may just find another secret to share.