


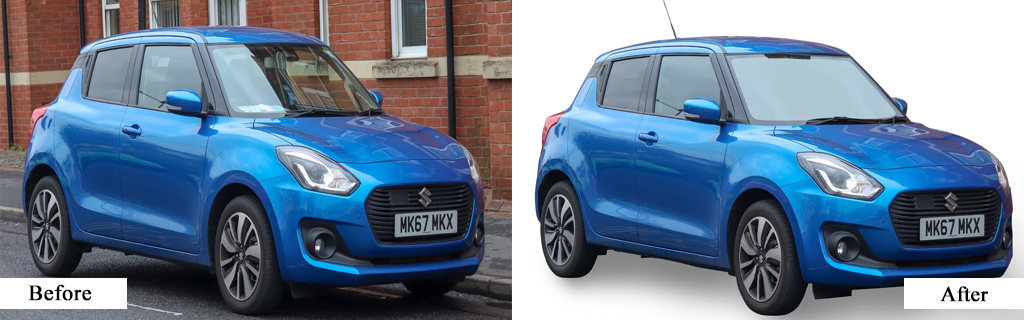

Workflow Tutorial for Real Estate Photography Editing in Lightroom
Every photographer will have their own formula on executing this craft. This is because photography editing in real estate is not a rigid job. Rather, it is an artform that requires skill, precision, and a ton of creativity. One of the ways photographers express their uniqueness and differentiation is through their approach to the post-processing stage.
They play around with sequences, techniques, and usage of available tools to come up with their own brand of style. In the eyes of the clients and buyers, photography editing in real estate is all the same. It takes a real craftsman to appreciate a good work of art and be able to tell the process behind it.Now, among all the software where photography editing in real estate can be done, we take a look at Adobe Lightroom for its complete array of workflow and tools to make sure you can get the hang of what should be done in the right sequence.
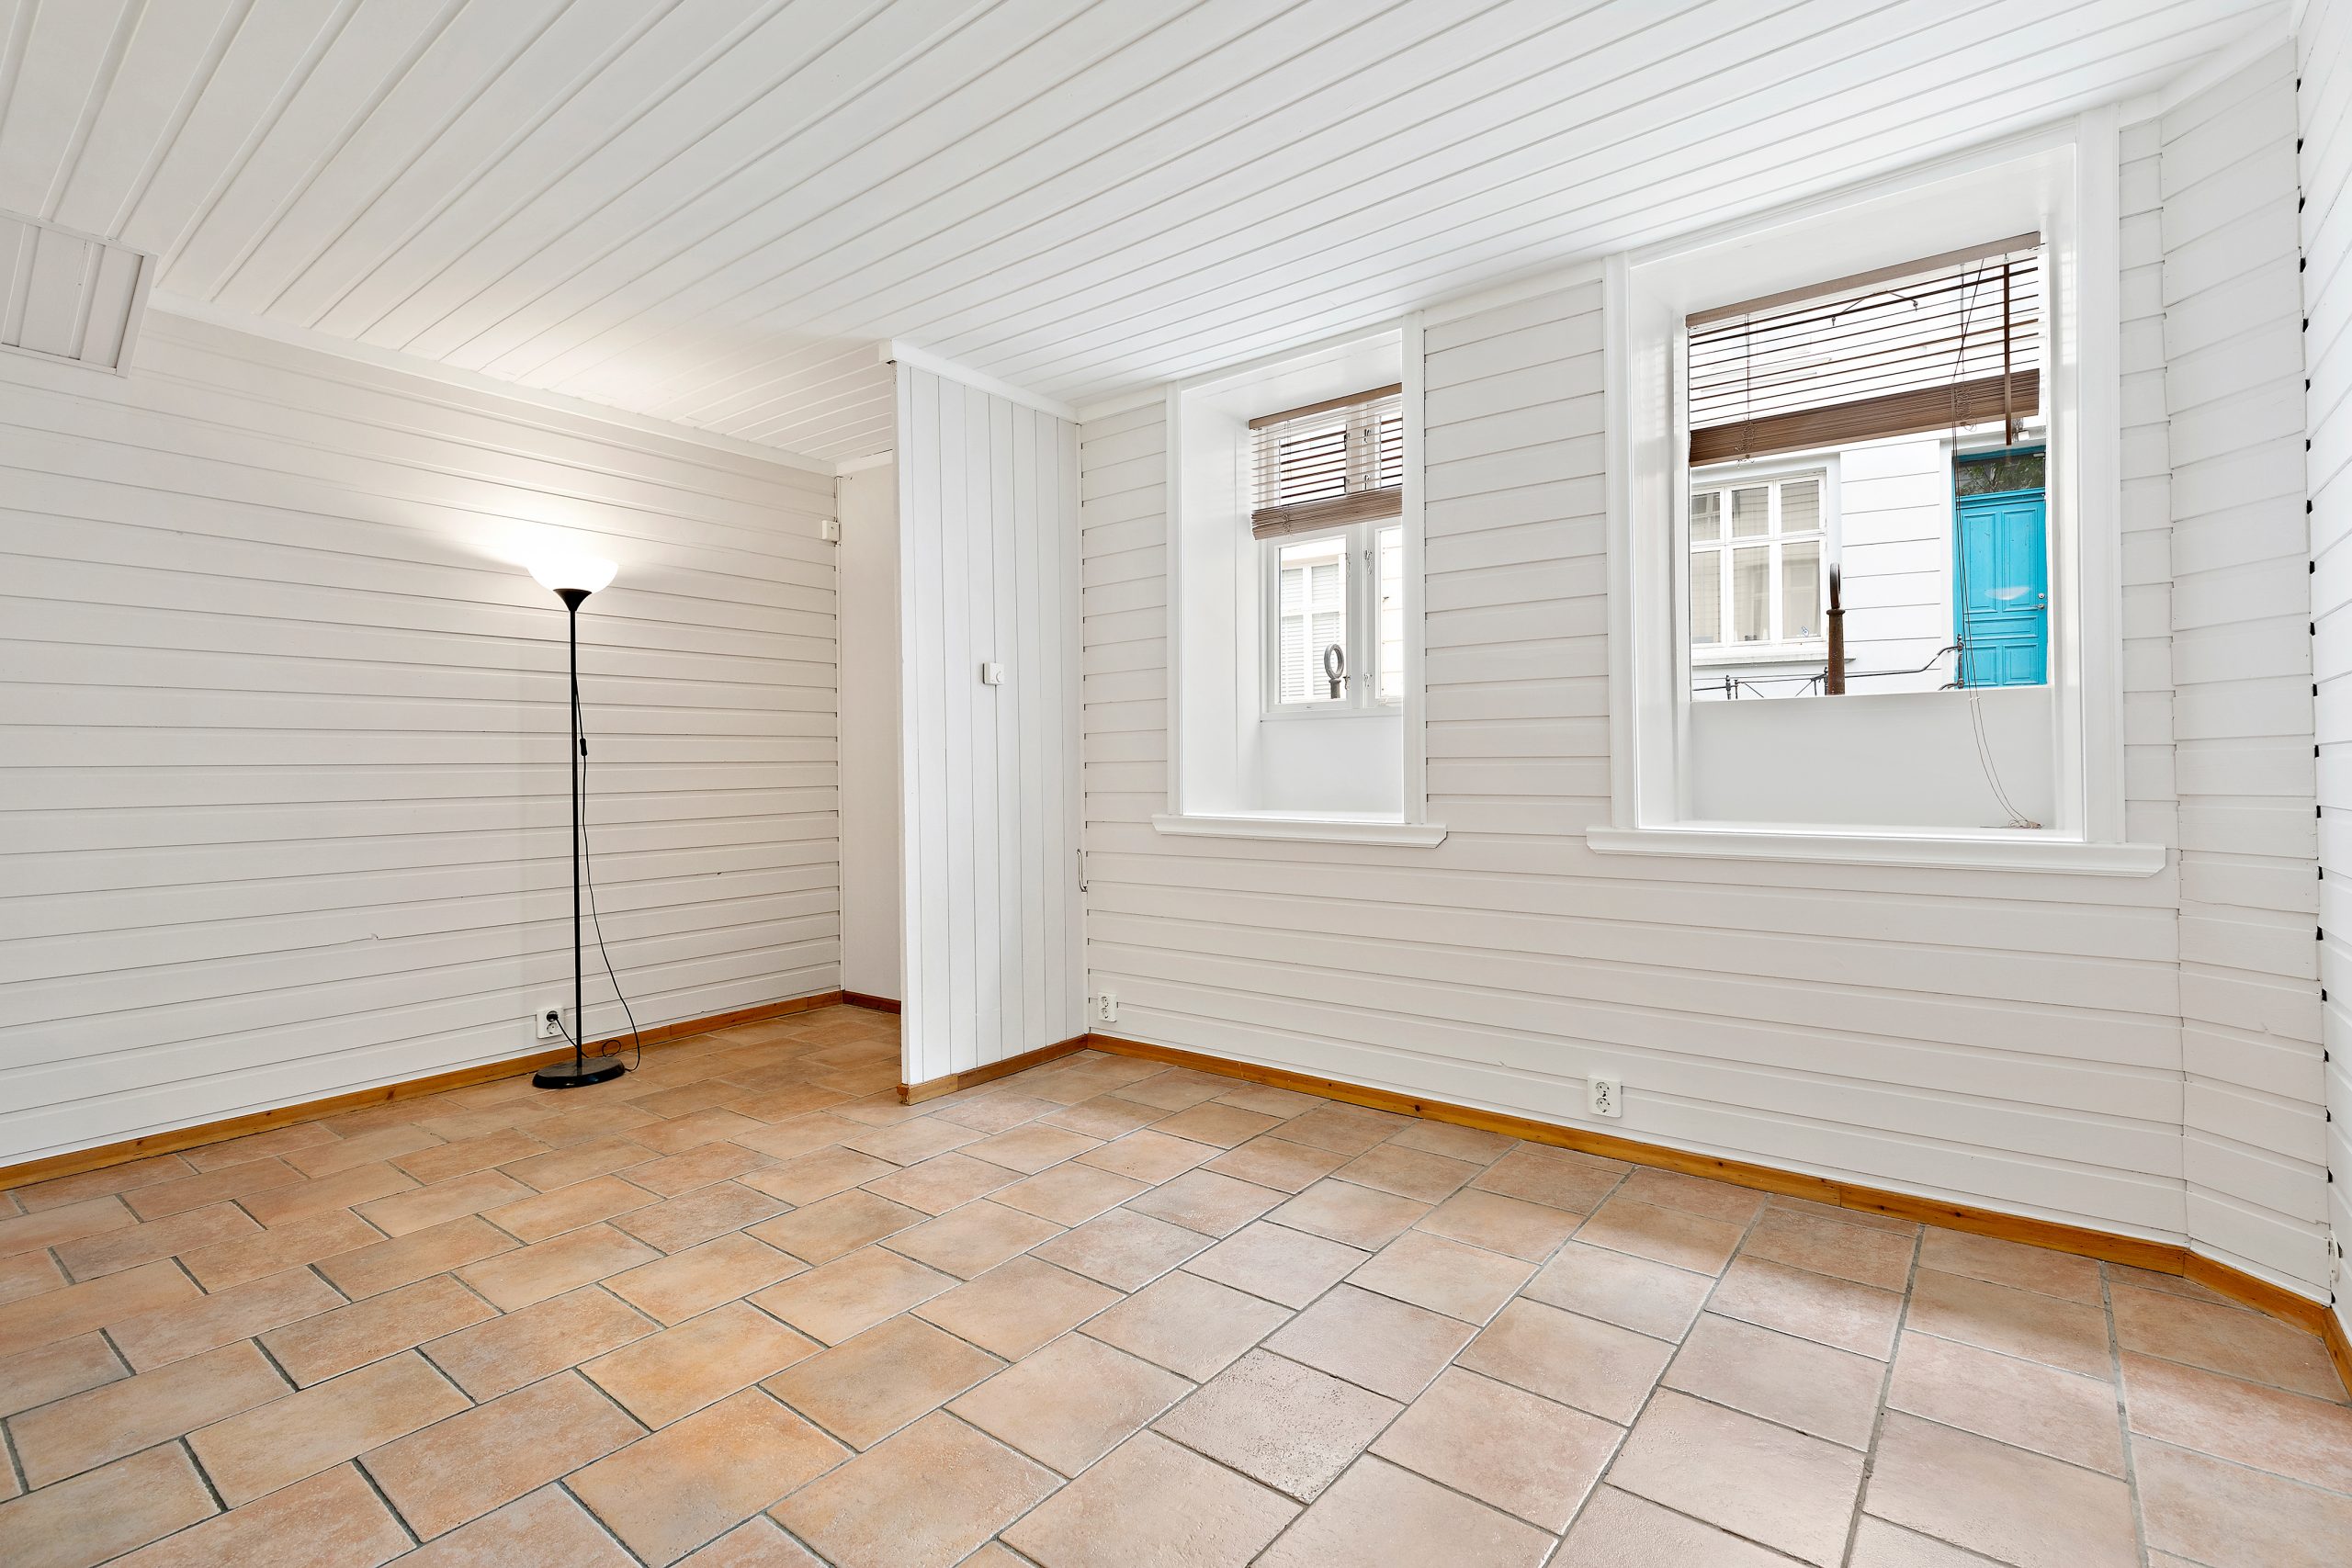
From here you can create your own workflow and conjure your own take on the enhancement process, one that is highly encouraged with all photographers and editors.Here in this Lightroom workflow tutorial, it will outline the basics on doing one task after the other. After all, photography editing in real estate requires you to cover the essential enhancements so you can flip a photo from being dull to something that piques on interests.
Taking Yourself Through the Editing WorkflowAgain, this following Lightroom workflow tutorial will pounce on the basic flow of activities you can expect. However, once you’ve gone through the exercise and feel confident about your familiarity on the sequence, feel free to make your own workflow and marvel in the beauty of your masterpiece.
Step 1:
Import your photos and get organized through quick screening.The first step is to migrate your photos from the camera to your computer. Most cameras will include a Bluetooth function that allows wireless transfers from one device to another, but this can sometimes be interrupted easily, hence, using a cable will ensure the most stable connection. After you open your photos in Lightroom, select the ones you want to edit easily by hitting either the “p” button on the keyboard for ‘Pick’ or the “x” button to reject the image. This makes the sifting process easier and faster.
Step 2:
Prime up your photos using pre-sets and filters.One thing about photography editing in real estate is the element of repetition. This means that most of your photos will require the same, if not almost the same, enhancements. Pre-sets are a good way to speed up the process in this case. Picture having several exterior shots in different angles. More or less, the enhancement techniques you must employ such as color correction and light distribution will be identical. Creating a pre-set and applying it each time will save you tons of time. Simply head on to the Develop module under the Pre-sets Panel and work your way from there.
Step 3:
Perform the color correction at this stage using tones.When performing color correction, this Lightroom workflow tutorial will point you in the direction of correcting the white balance. Under the Develop module found on the top of the screen, open the treatment panel and pick the white balance sampler choose an existing pre-set. Once you’re done, stay within the Develop module to harp on the tonal curves. These can give very sensitive and miniscule adjustments with options to use the slider for color temperature, tint, contrast, vibrance, and saturation.
Step 4:
Fix the lighting and remove noises.Let’s take a look at the lighting first. Under the same Develop module and the same color correction panel, you will see options that impact lighting. These are the highlight, shadow, white, and black slider options. For noise removal, head on to Edit, Detail Panel, and you will notice a noise reduction slider where moving it to the right will make your photos look crisp. However, photography editing in real estate requires you to maintain a clear and realistic state of the image. Overdoing noise reduction can end up eliminating the details you need, far beyond what you were intending to remove.
Step 5:
Once the colors and light are even, it’s time to straighten out some lines.Next up on this Lightroom workflow tutorial are lines straightening. If you happen to have leaning property images, then you need to make them look like they are straight on the y-axis or the vertical plane. To do this, click on the Geometry controls in the edit option. Select the guided option beside the word ‘Upright’. Click and drag a line along the part of the image that needs to be straightened, release it and voila. It’s as easy as that. This may also be applicable to horizontal lines that require similar rectification.
Step 6:
You are now ready for retouching.Retouching is one of the final frontiers of this Lightroom workflow tutorial. Here you should use healing brush tools to get rid of spots in the photo or perhaps larger objects that unnecessarily presents itself when it the photo was taken. Select the healing brush from the keyboard shortcut ‘H’. Adjust the size using the slider to make a bigger brush and rub it on the object you want removed, making sure that you are holding down the left mouse clicker.
Step 7:
Switch to Grid View for a bird’s eye view of your work.After you’ve curated a masterpiece out of all the images, take some time to look into all of it. The Grid View option in Lightroom allows you to take a look at the photos from a zoomed-out perspective, enabling you to hover over your work and spot some inconsistencies.
From here, you can export your work if there are no changes needed.ConclusionThis Lightroom workflow tutorial aims to enable you to unlock the basic thinking of creating a sequence of activities for photography editing in real estate. Nevertheless, you must remember that every craftsman follows something to start with, understand the ins and outs, and eventually navigate through the creative aspect of the process.